WireGuard Config Generator: Build wg0.conf Files in Your Browser
The WireGuard Config Generator builds copy-ready wg0.conf Interface and Peer blocks in your browser, with AllowedIPs, endpoints, and keepalive handled for you.
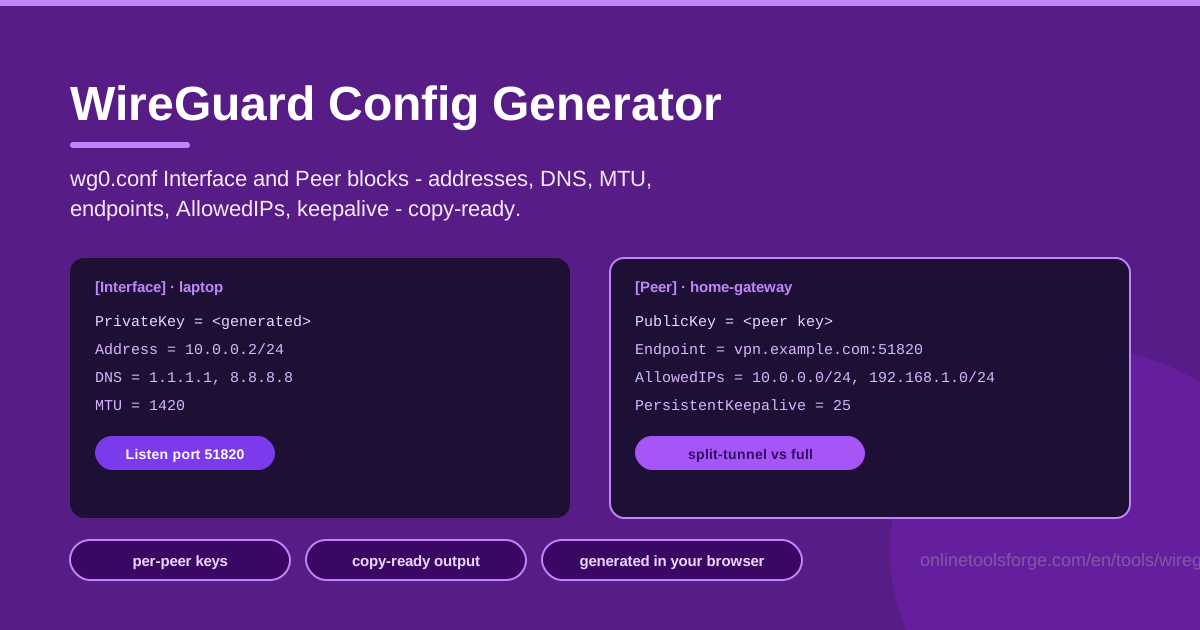
Table of Contents
WireGuard is famous for being fast and minimal, but the first wg0.conf file you write by hand is rarely painless. Which fields belong in the [Interface] block? Where does a peer's public key go? Is AllowedIPs a routing rule or an access rule? A single misplaced line and the tunnel comes up yet silently drops every packet. The WireGuard Config Generator takes the guesswork out: fill in a structured form for the interface and for each peer, and get a clean, copy-ready configuration instantly.
Because the tool runs entirely in your browser, nothing you type is transmitted or stored. There is no account, no upload step, and no server-side processing — the private keys and addresses you enter never leave your device. That matters for a VPN tool, because a WireGuard config holds exactly the cryptographic material that protects your network.
This guide walks through the generator step by step, explains what every field in the [Interface] and [Peer] blocks actually does, and shows how to apply it to real setups such as road-warrior access, site-to-site links, and hardened SSH administration.
Why Use WireGuard Config Generator?
- No syntax mistakes. Every field has a labeled home, so you cannot forget a PublicKey line or drop an endpoint into the wrong block.
- Per-peer blocks made easy. Add as many peers as you need, each with its own public key, endpoint, AllowedIPs, and keepalive value.
- Fully client-side. Keys are not sent anywhere; generation happens locally in your browser.
- Copy-ready output. The result is a standard wg0.conf you can paste into /etc/wireguard/ or import into a mobile client.
- Fast iteration. Change an address, widen AllowedIPs, or bump the keepalive and regenerate in a second.
- Free with no signup. Open the page and start composing — no accounts, no rate limits, no install.
Key Features
| Feature | What it does |
|---|---|
| [Interface] block builder | Sets tunnel addresses, DNS, MTU, listen port, and a private key placeholder |
| [Peer] block builder | Captures public key, endpoint, AllowedIPs, and persistent keepalive per peer |
| Multiple peers | Composes a separate [Peer] section for every device on the tunnel |
| Copy-ready output | Produces a complete wg0.conf in the exact format wg-quick expects |
| Browser-only processing | Assembles the file locally; nothing is uploaded or logged |
| Live editing | Tweak any field and the output regenerates immediately |
A few details worth calling out:
- The private key field is a placeholder by design: you supply a key generated on your own hardware, and the tool never derives or transmits it.
- Peer blocks are independent, so a laptop, a phone, and a site router can share one server config with distinct AllowedIPs.
- Output ordering — [Interface] first, then each [Peer] — matches wg-quick expectations, so the file works without cleanup.
How to Use WireGuard Config Generator
- Define the interface addressing. Pick a tunnel subnet that does not collide with your LAN, enter the Address for this host (for example 10.0.0.1/24), add DNS servers if clients should resolve names through the tunnel, and set a ListenPort — 51820 is the convention.
- Add peers with keys and endpoints. For each device, paste its public key. Set the endpoint (host:port) where it applies: client configs point at the server, while a server config usually leaves peer endpoints empty.
- Set AllowedIPs and keepalive. Decide which networks each peer may send, and add PersistentKeepalive (typically 25 seconds) for peers behind NAT that must stay reachable.
- Generate the configuration. The tool assembles the [Interface] and [Peer] blocks into a valid wg0.conf preview.
- Copy to /etc/wireguard/. Paste the output into /etc/wireguard/wg0.conf on the target machine, restrict permissions with chmod 600, then bring the tunnel up with wg-quick up wg0.
WireGuard Config Fields Explained
Interface versus Peer roles. The [Interface] block describes this host: its private key, tunnel address, and listening port. Each [Peer] block describes the other side: that peer's public key, where to reach it, and which networks sit behind it. A server config holds one interface plus many peers; a laptop config holds one interface and usually a single peer.
Address and DNS. Address assigns the tunnel IP to the interface — choose a private range such as 10.0.0.0/24 that does not overlap your LAN. DNS, set on clients, tells the system which resolver to use inside the tunnel, which is how internal hostnames start resolving.
AllowedIPs: routing and ACL in one. Outbound, AllowedIPs works like a routing table — packets destined for those ranges are pushed into the tunnel. Inbound, it works like an access list: WireGuard accepts a packet from a peer only if its source matches that peer's AllowedIPs. Listing 0.0.0.0/0 makes a peer the default route; listing just 10.0.0.0/24 keeps everything else on your normal connection.
PersistentKeepalive. NAT gateways quietly expire idle mappings. A keepalive of 25 seconds sends a small authenticated packet that keeps the mapping alive — essential for phones on mobile networks or laptops behind hotel Wi-Fi that need to remain reachable from the server side.
MTU tuning. WireGuard wraps every packet in extra headers. If large transfers stall while small ones succeed, your MTU is too high — try 1420 or 1380. Setting it per config lets mobile and fiber clients differ.
Split tunnel versus full tunnel. Split tunnel sends only chosen ranges through the VPN; full tunnel (0.0.0.0/0, ::/0) sends everything. The entire difference lives in AllowedIPs, which is why the generator keeps that field front and center.
Practical Use Cases
Road-Warrior Access to a Home Lab
Your home network runs a NAS, a hypervisor, and a few self-hosted services behind 192.168.1.0/24. Generate a server config with one [Peer] per laptop and phone, each allowed only 192.168.1.0/24. On the road, your devices reach the lab as if they were plugged in at home, while keepalive keeps mobile sessions from timing out.
Site-to-Site Between Two Offices
Office A uses 10.10.0.0/16 and office B uses 10.20.0.0/16. Each gateway config has a single peer — the other router — with the remote range in AllowedIPs and the other side's public endpoint set. Traffic between the two ranges flows through the tunnel automatically, and nobody inside either office has to think about it.
Securing Admin SSH Over a Private Range
Expose SSH only on a private range such as 10.8.0.0/24 instead of the public internet. Admins receive peer configs whose AllowedIPs covers just that admin range, so SSH daemons and dashboards become unreachable unless the tunnel is up — a cheap, effective hardening step.
Per-Device Peer Configs
Give every device its own keypair, its own [Peer] block, and a distinct tunnel IP. When a phone is lost, you delete one block and the rest of the mesh keeps working — no shared credential to rotate.
Best Practices
- One key per device. Never reuse a keypair across machines; per-device keys make revocation trivial.
- Keep AllowedIPs narrow on servers. A server should accept from each peer only the exact address it assigned to that peer.
- Keep private keys private. The generator is client-side precisely so secrets stay in your browser — still, treat an exported file as a secret and chmod 600 it.
- Use keepalive only where NAT needs it. Clients dialing a public server can skip it; roaming phones benefit from it.
- Pick a non-colliding subnet. Avoid ranges common on hotel and office networks, or your tunnel will break the moment you connect from one.
- Reload carefully. Apply changes to a live config with wg-quick down wg0 followed by wg-quick up wg0, and verify with wg show.
Open the WireGuard Config Generator, fill in one interface and a few peers, and you will have a deployment-ready wg0.conf in under a minute. Paste it into /etc/wireguard/, bring it up with wg-quick up wg0, and confirm the handshake with wg show — your encrypted network is live.
Related Tools You Might Like:
- SSH Config Generator — build per-host options into tidy ~/.ssh/config files.
- Subnet Calculator — plan the CIDR ranges your peers and networks will use.
- Password Generator — create strong secrets for accounts and pre-shared keys.
Happy tunneling!
Frequently Asked Questions
Q: Does the WireGuard Config Generator send my keys anywhere? A: No. The tool runs entirely in your browser — keys, addresses, and endpoints you enter never leave your device and are never logged.
Q: Can I build a configuration with multiple peers? A: Yes. Add a [Peer] block for each device with its own public key, AllowedIPs, and keepalive setting, and the generator assembles them into a single wg0.conf.
Q: Do I still need to generate key pairs myself? A: Yes. Run wg genkey on your own hardware for each device and paste the public keys into the tool; the private key field is only a placeholder for your local key.
Q: What AllowedIPs should a typical client use? A: For a split tunnel, list only the networks behind the server, such as 10.0.0.0/24. For a full tunnel, use 0.0.0.0/0, ::/0 so all traffic rides the VPN.