Android dp to px Explained: Convert dp, sp, and px at Every Screen Density
Convert Android dp to px and sp to px instantly with the free Android dp / sp / px Converter, using the px = dp × dpi / 160 formula across all six density buckets.
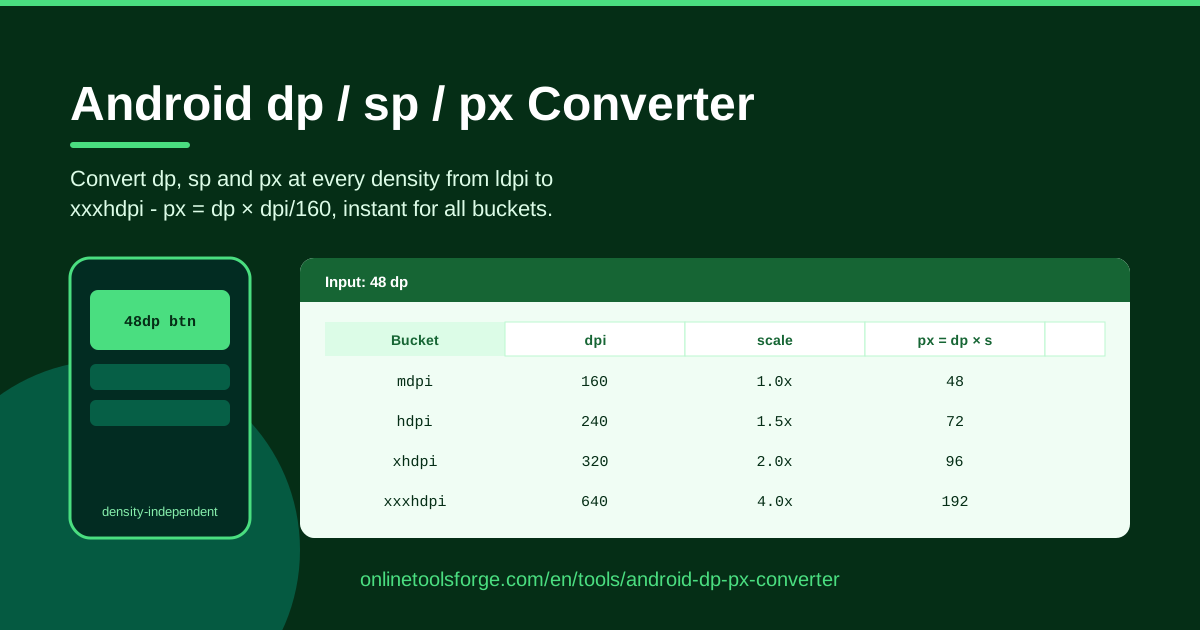
Table of Contents
If you have ever copied a number out of a design file and wondered what it becomes on a real device, you are not alone. Android speaks three size languages — dp for layout, sp for text, and px for raw screen pixels — and translating between them depends on screen density. The free Android dp / sp / px Converter removes the guesswork: type one value and see it across every density bucket from ldpi to xxxhdpi.
The math is one line — px = dp × dpi / 160 — but simple math repeated twenty times a day is where mistakes creep in. Multiplying 48dp by 3 for xxhdpi, or dividing a Photoshop measurement by 2 for xhdpi, invites rounding slips and forgotten buckets.
This guide covers how the converter works, where the formula comes from, and how to use it for designer specs, launcher icons, touch targets, and layout debugging.
Why Use Android dp / sp / px Converter?
- Instant answers for all six buckets. Enter one dp, sp, or px value and the live table updates ldpi (120), mdpi (160), hdpi (240), xhdpi (320), xxhdpi (480), and xxxhdpi (640) at once — no calculator.
- Two-way conversion. Convert dp to px and px back to dp — exactly what turning a design file into layout code requires.
- sp handled separately. Text sizes scale with the user's font preference, so the tool keeps sp distinct from dp rather than treating them as interchangeable.
- The exact Android formula. Everything uses px = dp × dpi / 160, the same relationship the Android runtime applies, so numbers match Layout Inspector.
- Runs in the browser. No installs, no accounts — open the page and start converting.
- Fewer density bugs. With every bucket's px value side by side, it is obvious when a spec that looks great on xxhdpi will be crushed on ldpi.
Key Features
| Feature | What it does |
|---|---|
| dp ↔ px conversion | Turns density-independent pixels into physical pixels and back at any density |
| sp ↔ px conversion | Converts text sizes to pixels, keeping text scaling separate from layout |
| All density buckets | Covers ldpi (120), mdpi (160), hdpi (240), xhdpi (320), xxhdpi (480), and xxxhdpi (640) |
| px = dp × dpi / 160 math | Applies the official Android density formula so results match on-device rendering |
| Live density table | Translates your value to every bucket simultaneously for instant comparison |
| Browser-based | Runs entirely in your browser — nothing to install, no data leaves your device |
- Results appear for all buckets at once — a 48dp button becomes 48, 72, 96, 144, or 192 px — and pasting a px value from a screenshot instantly reveals which dp the layout should declare.
How to Use Android dp / sp / px Converter
- Open the tool. Head to the converter page — it loads instantly in any browser, no signup.
- Enter your value. Type the number to convert, for example 48.
- Pick the unit. Choose dp, sp, or px so the correct scaling direction is applied.
- Read the live density table. The tool shows the equivalent for every bucket — 48dp renders as 48 px on mdpi and 144 px on xxhdpi.
- Use the results. Copy px into your export plan or dp into your layout XML — nothing is stored or sent anywhere.
Density Buckets and the dp Formula
Android hardware spans a huge range of pixel densities — budget phones near 200 dpi, flagships past 500 dpi. In raw px, a button that looks right on one device would be microscopic on the next. Google's answer is the density-independent pixel (dp), a virtual unit anchored to the mdpi baseline of 160 dpi: one dp equals one pixel there, and everything else scales from that:
px = dp × (dpi / 160)
A 48dp button renders at 48 px on mdpi, 96 px on xhdpi, and 192 px on xxxhdpi — the same physical size everywhere. Run the formula in reverse (dp = px × 160 / dpi) to turn a measured screenshot back into layout units.
Because real devices cluster around standard densities, Android groups them into six official buckets with fixed scale factors:
| Bucket | Density | Scale factor | 48dp in px |
|---|---|---|---|
| ldpi | 120 dpi | 0.75x | 36 px |
| mdpi | 160 dpi | 1x | 48 px |
| hdpi | 240 dpi | 1.5x | 72 px |
| xhdpi | 320 dpi | 2x | 96 px |
| xxhdpi | 480 dpi | 3x | 144 px |
| xxxhdpi | 640 dpi | 4x | 192 px |
When is raw px still correct? A 1 px hairline separator, canvas drawing that needs pixel coordinates, or an overlay aligned to a bitmap. Outside those edge cases, hardcoded px is a bug waiting for a denser screen.
Text follows one more rule. sp (scale-independent pixels) behaves like dp but is also multiplied by the user's font-size preference, so setting system text to Large yields bigger labels without changing layout geometry — which is why every text size belongs in sp, never dp.
Practical Use Cases
Translating Designer Specs from Photoshop Pixel Values
Most designers mock up screens at 2x, which matches the xhdpi bucket. A card measured at 640 px is 320dp in code, and 16 px of spacing is 8dp. Paste the value in, read the dp column, and your XML matches the design with no manual division.
Preparing Launcher Icon Sizes for Every Bucket
The launcher icon spec starts from a 48dp baseline: 48 px on mdpi, 72 on hdpi, 96 on xhdpi, 144 on xxhdpi, and 192 on xxxhdpi. Export once, then verify each file's size against the density table before shipping.
Reviewing Touch-Target Minimums of 48dp
Material Design requires interactive elements of at least 48dp — roughly 9 mm — so fingers land reliably. If a spec shows a 32dp row height, flag it. The converter shows that target in pixels per bucket, so you can argue the point with concrete numbers.
Debugging Layouts on Specific Devices
Logs and Layout Inspector report px, while your XML declares dp. A view measuring 144 px on an xxhdpi emulator is exactly 48dp — correct. The same 144 px on an xhdpi device would be 72dp, meaning something resized it. Converting both directions exposes mismatches in seconds.
Best Practices
- Use dp for layout and sp for text. dp keeps geometry consistent across densities; sp also respects the user's font-size setting.
- Never hardcode px in layouts. Reserve px for hairlines and canvas math — elsewhere it silently breaks on other buckets.
- Keep touch targets at 48dp or larger. Below that, taps miss, especially on the go.
- Test on a low and a high bucket. An mdpi emulator plus an xxxhdpi device surfaces problems one xhdpi screen never shows.
- Prefer vector drawables. One scalable asset serves every bucket and removes most px math.
- Verify handoffs in dp, not px. Convert designer px specs to dp first, then review against those numbers.
Ready to stop doing density math in your head? Open the Android dp / sp / px Converter, type a value, and get every bucket's answer in one glance — free, instant, in your browser.
Related Tools You Might Like:
- Unit Converter — convert length, weight, temperature, and more.
- Density Converter — translate values across screen densities.
- CSS Logical Properties Converter — switch CSS between physical and logical direction properties.
Happy converting!
Frequently Asked Questions
Q: What is the difference between dp and px in Android? A: px is a physical screen pixel, while dp is a density-independent unit defined so that 1dp equals 1px on a 160 dpi (mdpi) screen. On denser screens the same dp becomes more px via px = dp × dpi / 160, keeping UI elements the same physical size everywhere.
Q: How many pixels is 48dp? A: Depends on the bucket: 36 px on ldpi, 48 on mdpi, 72 on hdpi, 96 on xhdpi, 144 on xxhdpi, and 192 on xxxhdpi. The converter's live density table shows all six at once.
Q: Why should text use sp instead of dp? A: sp respects the user's system-wide font size preference on top of screen density, so users preferring larger text get larger labels. dp only accounts for density, so text sized in dp ignores accessibility settings.
Q: Which density bucket should I design my mockups at? A: Most teams design at 2x, matching the xhdpi bucket (320 dpi), because dividing px by two gives dp directly. Keep your scale consistent and let the converter translate values into every other bucket.