Audio Normalizer: Hit Spotify, Podcast, and EBU R128 Loudness Targets in Your Browser
Normalize audio loudness to a target LUFS with the free online Audio Normalizer — Spotify -14, podcast -16, or EBU R128 -23 presets, with preview and WAV download, all in your browser.
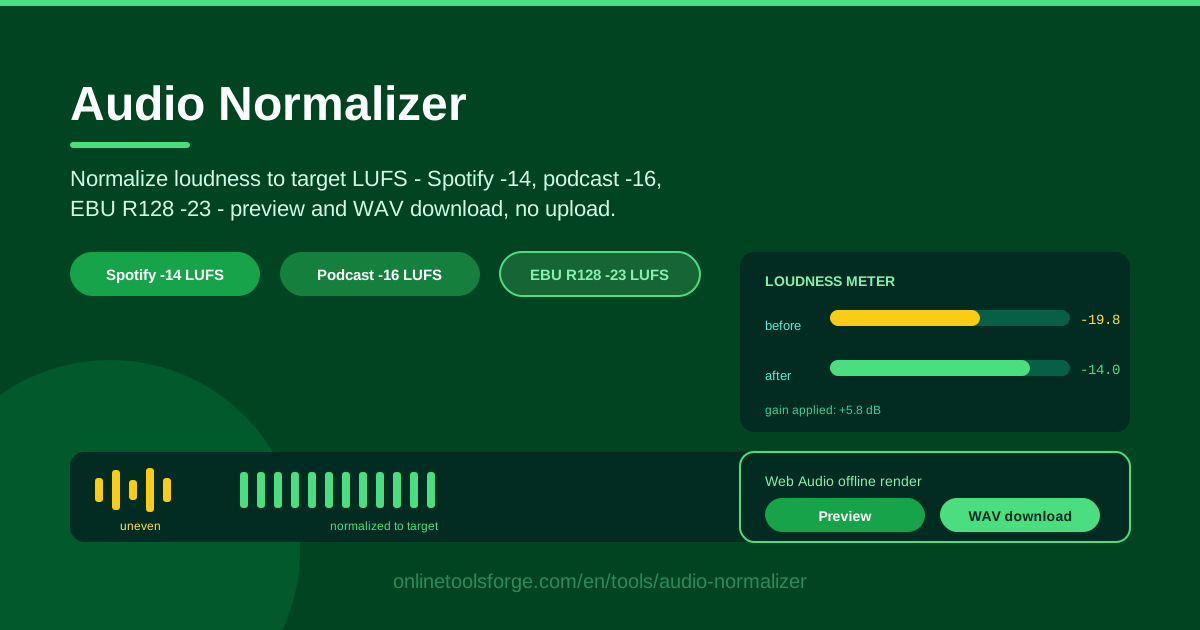
Table of Contents
You finish a podcast episode or a voiceover take, hit export, and it sounds noticeably quieter than everything else you play it next to. Listeners reach for the volume knob, platforms quietly turn you down, and an otherwise clean recording suddenly feels amateur. The fix is loudness normalization, and you no longer need expensive desktop software for it. Audio Normalizer is a free browser tool that measures your audio's loudness and applies exactly the gain needed to reach a target LUFS level, with one-click presets for Spotify (-14 LUFS), podcast platforms (-16 LUFS), and the EBU R128 broadcast standard (-23 LUFS).
The difference from the basic "normalize" button in many editors is what gets measured. Older tools normalize to peak level — the tallest sample in the waveform — which says very little about how loud a recording actually sounds. This tool works in LUFS (Loudness Units relative to Full Scale), the perceived-loudness measure that streaming platforms and broadcasters use when deciding how loud your content should play.
Everything runs locally in your browser via Web Audio offline rendering. Your file is never uploaded, processing starts instantly, and you can preview the result before downloading a lossless WAV.
Why Use Audio Normalizer?
- Meet platform loudness targets — Spotify plays back around -14 LUFS, most podcast apps sit near -16 LUFS, and broadcast follows EBU R128 at -23 LUFS. Delivering at the right target means your audio arrives at the volume listeners expect.
- Fix uneven recordings — different mics, rooms, and sessions produce wildly different levels. Normalization puts every file on the same footing.
- Avoid being turned down — streaming services attenuate material that is too loud, while material that is too quiet simply sounds weak next to professionally mastered content.
- Preserve dynamics — a single uniform gain is applied, so quiet passages stay quiet and loud moments stay loud. No compression, no pumping, no crushed transients.
- Keep your files private — processing happens entirely on your device. There is no upload, no queue, and no server copy of your audio.
- Skip installs and fees — no software to install, no account, no watermark. Open the page, normalize, download.
Key Features
| Feature | What it does |
|---|---|
| Local file loading | Open any audio file straight from your device — nothing is uploaded. |
| Target LUFS normalization | Enter any custom LUFS target or pick a built-in preset. |
| Loudness presets | One-click targets: Spotify -14 LUFS, podcast -16 LUFS, EBU R128 -23 LUFS. |
| Before/after measurements | Shows the measured loudness before and after, plus the exact gain applied. |
| Web Audio offline rendering | Renders the normalized audio offline in the browser — fast and accurate. |
| Preview playback | Listen to the normalized result before committing to a download. |
| WAV download | Export a lossless WAV ready for publishing or further editing. |
| No upload | All measurement and rendering stay on your machine. |
A few details worth calling out:
- The measurement readouts remove the guesswork — you can see that a file measuring -20.4 LUFS needed +6.4 dB of gain to land on the -14 LUFS target.
- Because the gain is uniform across the whole file, the tonal character and dynamics of your recording are untouched.
- The preview lets you compare the original and normalized versions before you download anything.
How to Use Audio Normalizer
- Load your file. Drag and drop your recording or browse for it — MP3, WAV, and other common formats work.
- Choose a target. Pick the Spotify -14, podcast -16, or EBU R128 -23 preset, or type a custom LUFS value.
- Review the numbers. Check the measured loudness of the original, the target level, and the gain that will be applied.
- Preview the result. Play the normalized audio to confirm it sounds right on your headphones or speakers.
- Download the WAV. Save the lossless file, ready to publish or drop straight into your editor.
LUFS vs Peak: What Loudness Really Means
A sample peak is simply the highest point your waveform reaches at any instant. It tells you nothing about how loud the recording feels. Two files can have identical peaks while sounding dramatically different: a dense, compressed master and a sparse acoustic ballad with long quiet stretches can both peak at -1 dBFS, yet one hits your ears far harder. Human hearing averages energy over time, which is exactly what LUFS approximates — a single number that tracks perceived loudness the way a listener experiences it.
This is why platforms normalize to LUFS rather than peaks. A playlist mixes music, podcasts, and ads from hundreds of sources; LUFS gives them one yardstick so a whisper-quiet folk track and a loud pop single can sit side by side without the listener riding the volume control. Deliver at the platform's target and your content plays at its intended volume.
The three presets map to three worlds. -14 LUFS matches Spotify and most streaming services — Spotify turns louder material down at playback, and anything much quieter loses impact. -16 LUFS is the de facto podcast target, close to the guidance used by major podcast platforms and a comfortable level for spoken word on earbuds. -23 LUFS is the EBU R128 broadcast standard used across European TV and radio, deliberately conservative to leave generous headroom for live transmission.
Crucially, what the tool applies is gain, not compression. Normalization multiplies every sample by the same factor — the whole file shifts up or down together. Compression, by contrast, shrinks the gap between loud and quiet and then boosts everything, which is where pumping and crushed dynamics come from. With pure gain, your quiet bridge stays a quiet bridge; the file is simply louder overall.
And because the measurement and rendering happen through Web Audio offline processing in your own browser, you get speed and privacy together: no upload queue, no account, and no copy of your audio sitting on someone else's server.
Practical Use Cases
Podcast Episodes at a Consistent -16 LUFS
Record episode 1 in a treated studio and episode 12 on a hotel room bed, and the difference is jarring. Normalize every episode to -16 LUFS before publishing and your feed sounds like one continuous show — no more listeners twisting the volume dial between episodes.
Voiceovers for Video
Editors often hand you narration recorded at wildly different levels across takes or projects. Normalize each voiceover to a fixed target before importing it, and dialogue sits at a predictable level under your music bed instead of requiring manual fader surgery on every clip.
Matching a Music Library
If you license tracks from different sources, their loudness varies enormously. Normalizing your library to one LUFS target lets you audition tracks back to back fairly and assemble playlists or video soundtracks that flow without level jumps.
Lecture and Interview Recordings
Field recordings, lecture captures, and phone interviews are notorious for low, uneven levels. A quick pass to a spoken-word target makes them comfortably listenable on laptops and earbuds without re-recording anything.
Best Practices
- Normalize per episode, not per playlist. Each file should hit its target on its own merits; normalizing a whole playlist together drags every track toward the average.
- Trust the platform target. Louder is not better when the platform simply turns your file down — deliver at -14 for streaming music, -16 for podcasts, -23 for broadcast.
- Preview on headphones and speakers. A level that sounds right on earbuds may feel thin on monitors, so check both before exporting.
- Trim before you normalize. Long silences and false starts skew the loudness measurement — cut them first with a trim tool, then normalize.
- Watch your peaks after big boosts. If the applied gain is large, confirm the result has not clipped; quieter sources may need a touch of attenuation instead.
- Keep the original file. Normalization is a one-way change to a copy, so always export fresh rather than overwriting your master.
Ready to bring your audio up to standard? Open Audio Normalizer, drop in a file, pick a preset, and download a WAV that lands exactly on target — free, private, and done in under a minute.
Related Tools You Might Like:
- Audio Trimmer — cut dead air and unwanted sections before you normalize.
- Audio Joiner — merge multiple clips into one continuous file.
- Audio Waveform Visualizer — inspect your audio's shape at a glance.
Happy mixing!
Frequently Asked Questions
Q: What LUFS level should I target for Spotify and other streaming platforms? A: Around -14 LUFS. Spotify, YouTube, and most streaming services normalize playback to roughly that level, so masters close to -14 LUFS play at their intended volume instead of being turned down.
Q: Does normalizing reduce audio quality or crush my dynamics? A: No. The tool applies one uniform gain to the entire file. The relationship between quiet and loud passages stays exactly the same — nothing is compressed or limited.
Q: Is my audio uploaded to a server? A: No. Measurement and rendering happen locally in your browser through the Web Audio API, so your file never leaves your device.
Q: Why is the export a WAV file? A: WAV is lossless, so the normalized audio keeps its full quality. If you need a smaller file for distribution, encode that WAV to MP3 or another compressed format afterward.