GitHub Badge Builder: Perfect shields.io Badges for Your README
Compose shields.io badge URLs with label, message, color, style, and logo. Live preview with copy-paste Markdown and HTML for READMEs — free in your browser.
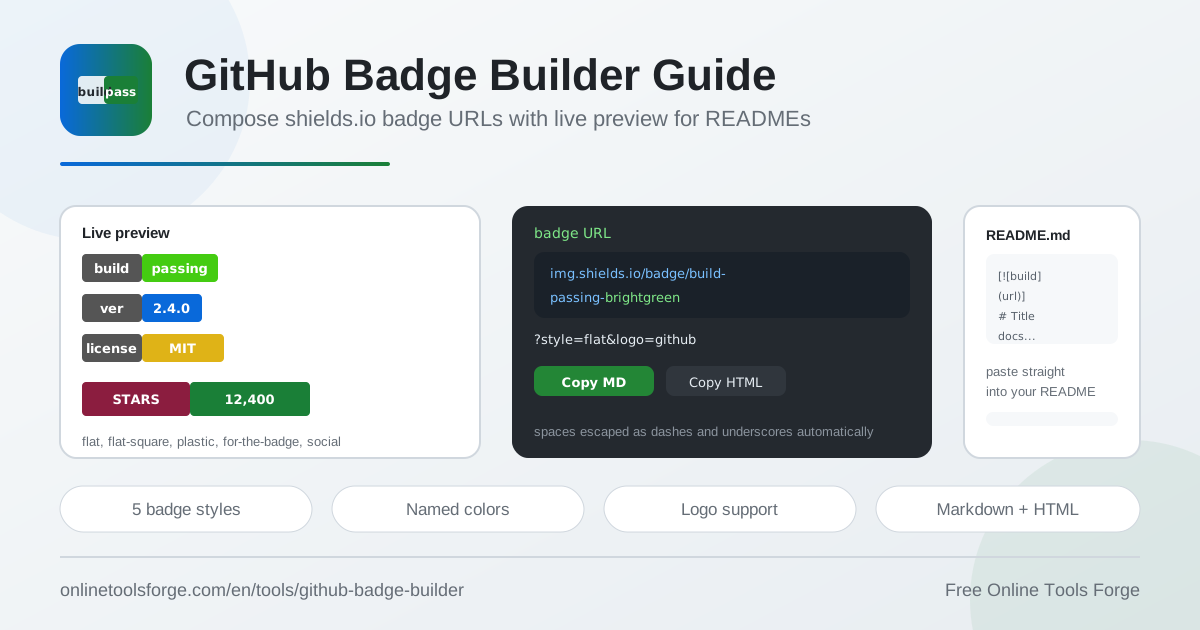
Table of Contents
Scroll through the top of any popular repository and you will see the same quiet language: a green build passing pill, a version number, a license tag, a coverage percentage. README badges are the standard visual summary of a project, and visitors read them before they read anything else. The problem is that behind every one of those tiny images sits a shields.io URL with strict formatting rules, and hand-writing those URLs is where most badges go wrong.
The GitHub Badge Builder fixes that. You type a label and a message, pick a color, choose one of five styles, optionally add a logo, and watch a live preview render the finished badge. When it looks right, copy ready-to-paste Markdown or HTML. Everything runs 100 percent in your browser with no signup.
This guide walks through the tool, decodes the URL anatomy behind every badge, and shares battle-tested patterns for the README rows developers reach for most.
Why Use the GitHub Badge Builder?
- No more escaping bugs. shields.io treats dashes as field separators, so a literal dash must double up and spaces need underscores. Miss one rule and your carefully typed text renders wrong or the badge fails entirely. The builder applies the escaping for you.
- Instant visual feedback. The live preview shows the badge exactly as GitHub will render it, so you catch color, contrast, and width problems before they reach your README.
- Two output formats, one click. You get both a Markdown image snippet and an HTML img tag, each correctly formatted, so the same badge works in READMEs, docs sites, and plain web pages.
- Every popular style in one place. Flip between flat, flat-square, plastic, for-the-badge, and social without memorizing query parameters.
- Branding built in. Add a simple-logos icon such as github, node.js, or python with a single slug.
- Zero friction. Free, fully in-browser, and no account required — compose, preview, copy, done.
Key Features
| Feature | What it does |
|---|---|
| Label and message | Set the two text halves of the badge, such as build and passing |
| Named colors | Pick brightgreen, blue, orange, red, and other shields.io palette colors |
| Five styles | Switch between flat, flat-square, plastic, for-the-badge, and social |
| Logo slug | Attach a simple-logos icon like github, javascript, or python |
| Live preview | Render the badge exactly as it will appear on GitHub |
| Markdown output | Copy a ready-to-paste image snippet for README files |
| HTML output | Copy an img tag snippet for docs, wikis, and websites |
| In-browser build | Assemble the URL locally with instant updates and nothing sent anywhere |
Three details worth knowing:
- Escaping is automatic. Spaces in your label or message are converted into the dash and underscore sequences shields.io expects, so what you preview is exactly what ships.
- Both snippets stay in sync. Every tweak to label, message, color, style, or logo updates the Markdown and HTML outputs at the same moment, so you never paste a stale URL.
- Named colors keep you consistent. Sticking to the shields.io palette means your status, version, and license badges all share one visual language.
How to Build a Badge
- Enter the label. This is the left-hand context of the badge, such as build, version, license, or tests.
- Enter the message. This is the value on the right, such as passing, v2.1.0, or MIT.
- Pick a color. Choose from the named palette: brightgreen reads as success, blue as informational, orange as warning, red as failure.
- Choose a style and an optional logo. Flat is the classic default, for-the-badge suits bold hero rows, and a logo slug adds instant framework branding.
- Copy and paste. Grab the Markdown snippet for your README or the HTML snippet for elsewhere, and drop it right under your project heading.
shields.io URL Anatomy
Every static badge is a URL with three positional segments after the /badge/ path: label, message, and color, separated by single dashes. When the builder turns build plus passing plus brightgreen into a URL, it produces the first line below.
https://img.shields.io/badge/build-passing-brightgreen 
The second line is the full Markdown snippet: standard image syntax with the URL inside and alt text up front, which GitHub renders inline.
The escaping rules follow directly from that structure. Because a single dash separates segments, a literal dash inside your text must be written as two dashes, so code-coverage becomes code--coverage in the URL. Spaces are written as underscores, so passes all tests becomes passes_all_tests. Underscores you actually want displayed get doubled. The GitHub Badge Builder applies these conversions as you type, which is precisely the part that is error-prone by hand.
Style rides along as a query parameter, such as ?style=flat-square. Use flat for the classic look that blends into most READMEs, flat-square for a crisp modern grid, plastic for a glossy bevel, for-the-badge when you want tall uppercase hero badges, and social for a softer button-like pill.
Color accepts both named colors and hex codes. Names like brightgreen, blue, orange, and red are readable and consistent across projects; a hex value is there when you need an exact brand match.
Logos use a slug from the simple-logos collection passed as a parameter, which is how a GitHub octocat or a Node.js hexagon ends up inside your badge.
Practical Use Cases
Build and CI status rows
The classic top-of-README row pairs a build badge with test and coverage badges: build passing in brightgreen, tests 42 passed in blue, coverage 96 percent in green. Paste the three Markdown snippets side by side on one line and visitors immediately know the project is healthy before scrolling a single paragraph.
Version and license lines
Release badges age well: version v3.2.0 in blue sitting next to license MIT in green. When you cut a release, regenerate the version badge with the new number in seconds using the GitHub Badge Builder instead of hand-editing a URL and hoping the dashes survive.
Docs and coverage links
Badges do not have to be static statements. Wrap the image in Markdown link syntax so a docs badge opens your documentation site and a coverage badge opens your coverage report. One line of Markdown turns a status display into navigation.
Fun project personality badges
Not every badge reports an endpoint. made with love, powered by coffee, or bugs welcome are quick wins that give a README character. The for-the-badge style in an offbeat color nails this tone, and a matching logo slug keeps it feeling deliberate rather than random.
Best Practices
- Lead with status. Order your badge row from most to least critical: build, tests, coverage, then version and license.
- Reserve red for real problems. If everything in the row is red, nothing reads as urgent.
- One style per row. Mixing flat and for-the-badge in the same line looks accidental rather than designed.
- Keep labels short. Two words or fewer per side keeps badges scannable at README width.
- Keep alt text descriptive. The generated Markdown includes an alt attribute; make it meaningful for screen readers.
- Refresh after releases. Static badges never update themselves, so regenerate version and coverage values each release.
Create Your Badge in Seconds
Skip the URL syntax entirely. Open the GitHub Badge Builder, type a label and a message, pick a color, and copy the snippet. Thirty seconds from now your README can carry the same polished status row as the projects you admire. It is free, it runs entirely in your browser, and there is nothing to sign up for.
Related Tools You Might Like:
- README Generator — scaffold a full project README, badge row included.
- Markdown Table Generator — build clean comparison tables for the same file.
- Open Graph Generator — craft social preview metadata for your project site.
Happy shipping!
Frequently Asked Questions
Q: Is the GitHub Badge Builder really free?
A: Yes. It runs entirely in your browser, requires no signup, and sends nothing to a server. You compose, preview, and copy without an account.
Q: Will my badge keep working after I close the tool?
A: Yes. The output is a plain shields.io URL embedded in Markdown or HTML, so it keeps rendering as long as shields.io serves images. The builder simply composes that text for you.
Q: When should I use HTML instead of Markdown for a badge?
A: Use Markdown for README files, which GitHub renders natively. Use the HTML img tag for websites, wikis, or any context that expects raw HTML, tighter sizing, or an image wrapped in custom markup.
Q: Why did the spaces in my badge text look wrong?
A: They did not disappear. shields.io escapes spaces as underscores in the URL and converts them back to spaces when rendering. If text still looks off, rebuild the badge in the tool and let it handle the dash and underscore escaping.
Q: Can I match an exact brand color?
A: The tool focuses on named colors for quick, consistent choices. For an exact brand match, shields.io also accepts hex codes in the color segment of the URL.