Build a GitHub Profile That Gets Noticed: The Complete Guide to the GitHub Profile README Generator
Learn how to use the GitHub Profile README Generator to build a polished profile README with skill badges, stats cards, trophies, and socials — no hand-coded Markdown required.
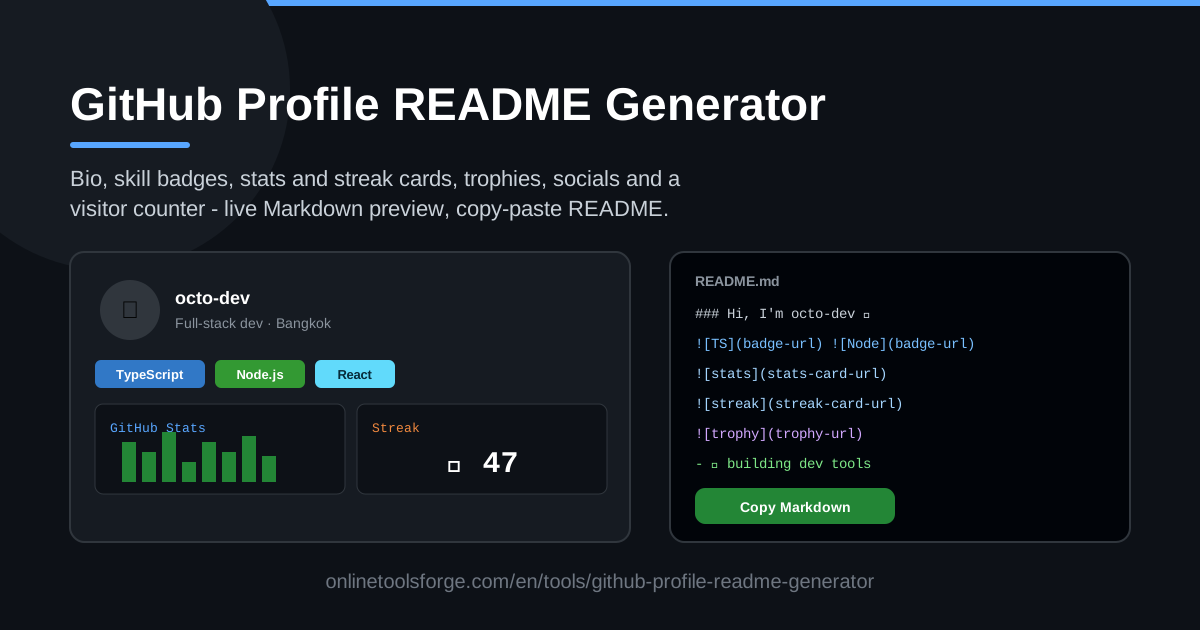
Table of Contents
Your GitHub profile is usually the first thing a recruiter, hiring manager, or fellow developer sees when they search your name — and for most accounts, that page is just a username, a join date, and a grid of repositories. A profile README fixes that instantly. It turns your account page into a personal landing page with your bio, skills, and achievements right at the top. The GitHub Profile README Generator makes building one effortless: fill in a simple form, watch the live Markdown preview update as you type, and copy the finished README straight into your profile.
In this guide, we will walk through how the tool works, what separates a good profile README from a wall of badges, and exactly how to publish it using GitHub's special username/username repository trick. Everything runs in your browser with no signup, and the output is standard Markdown that you fully control.
Why Use GitHub Profile README Generator?
- No Markdown hand-coding. Typing image embeds and link syntax by hand is tedious and error-prone; the generator assembles it all for you.
- Live preview. See your README render in real time as you complete the form, so there are no surprises when you paste it into GitHub.
- Every popular section in one place. Bio, skill badges, GitHub stats card, streak card, trophies, social links, and a visitor counter become simple form fields instead of separate tutorials.
- Copy-paste workflow. The output is a single Markdown block designed for the username/username repository, so going from form to published profile takes minutes.
- Data-driven visuals. The stats and streak cards pull from your actual public GitHub activity, so your profile reflects real work.
- Free and browser-based. Nothing to install, no account to create, and your data never leaves your session.
Key Features
| Feature | What it does |
|---|---|
| Bio section | Adds a short "about me" introduction with your role and current focus. |
| Skill badges | Generates shields-style badges for the languages and tools you use. |
| GitHub stats card | Renders a card with your public commits, pull requests, issues, and contributions. |
| Streak card | Shows your current and longest commit streaks at a glance. |
| Trophies | Adds achievement trophies for milestones like long streaks and multi-language commits. |
| Social links | Builds a row of linked icons for GitHub, LinkedIn, X, and more. |
| Visitor counter | Inserts a profile view counter image into the README. |
| Live Markdown preview | Re-renders the README as you type so you can fine-tune instantly. |
| Copy-paste output | Produces standard Markdown ready for your profile repository. |
A few details worth knowing:
- Badges are customizable. You choose which skills appear, so the row reflects what you actually use rather than a generic list.
- The preview is faithful. Because the output is plain Markdown with public image URLs, what you see in the preview matches what GitHub renders.
- Sections are optional. Skip the trophies or the counter if they do not fit your style; the generator only includes what you fill in.
How to Use GitHub Profile README Generator
- Fill in the form. Open the tool and enter your details: your name and bio, the skills you want badges for, and the sections you want to include.
- Add your socials and extras. Paste the links to your other profiles, and toggle the stats card, streak card, trophies, and visitor counter on or off to taste.
- Review the live preview. As you type, the preview panel renders the finished README. Reorder and trim sections until it reads the way you want.
- Copy the Markdown. Use the copy button to grab the entire README in one block.
- Create the username/username repository and commit. On GitHub, create a new public repository named exactly like your username, add a README.md, paste the Markdown in, and commit. Your profile page now displays it.
What Makes a Profile README Good
The whole trick rests on a quirk of GitHub: when you create a public repository whose name matches your username exactly, GitHub displays that repository's README.md at the top of your profile page. This is why the tool tells you to publish into the username/username repository — the name match is not cosmetic, it is the activation switch.
Once the mechanics are out of the way, quality comes down to a handful of elements.
Badges and shields are the most recognizable part of any profile README. Done well, they give a visitor an instant read on your stack — five to eight badges is usually enough. Done poorly, such as three rows listing every language you have ever touched, they become noise. Pick the tools you would be happy to be interviewed about.
Stats and streak cards are honest, but know what they show. The stats card counts your public commits, pull requests, issues, and contributed repositories — public activity only, so private work does not appear. The streak card shows your current and longest consecutive-day commit streaks. These cards are a genuine signal of consistent public contribution, not a certificate of overall skill, and presenting them as exactly that is perfectly fine.
Trophies add a bit of gamified color: achievements for streaks, committing in multiple languages, or earning stars. They are decorative more than informational, so treat them as seasoning rather than the main course.
Visitor counters are purely for fun. A number proves people looked at your profile, nothing more. Include one if you like the vibe; skip it if you prefer a minimal look.
Finally, keep it short and skimmable. The best profile READMEs are roughly one screen tall: one clear sentence about who you are, a badge row, a card or two, and the links that matter. Recruiters skim; they do not read. A focused README beats an exhaustive one every time.
Practical Use Cases
Job-Seeking Profile Polish
If you are applying for roles, your GitHub link sits on your resume and will be clicked. Use the generator to lead with a one-line positioning statement such as "Backend developer focused on Go and PostgreSQL," follow it with skill badges matching your target job description, and close with a stats card showing consistent contributions. Recruiters get the headline in five seconds instead of reverse-engineering your repositories.
Open-Source Maintainer Intro
Maintainers get profile visits from strangers deciding whether to trust the project. A README that states what you maintain, links the projects, and shows your contribution streak builds credibility fast. Social badges pointing to your discussion channels also make it easy for newcomers to find where questions belong.
Student Portfolios
For students and bootcamp graduates with few repositories, a profile README carries most of the first impression. Badges show the stack you are learning, the streak card shows you practice consistently, and trophies add visible milestones — all valuable signals when work experience is still thin.
Consultant Landing Bio
Freelancers and consultants can use the profile as a compact landing page: what you do, who you serve, badges proving the stack, and social links to your site, LinkedIn, or booking page. The visitor counter even gives a rough sense of traffic.
Best Practices
- Lead with one clear sentence. "X developer building Y with Z" beats a paragraph of buzzwords every time.
- Pin what matters on GitHub too. README plus pinned repositories work together; pin your best projects so the area below the README is just as strong.
- Skip dark patterns like fake streaks. Do not pad your profile with empty commits or activity you cannot back up in an interview; the cards only help when the underlying work is real.
- Update quarterly. New role, new stack, new focus — refresh your badges and bio so the profile never goes stale.
- Match the README to your goal. Job seekers emphasize skills and stats, maintainers emphasize projects, consultants emphasize contact links.
- Keep it to one screen. If a section does not earn its place, delete it.
Ready to turn your GitHub profile into a landing page that works for you? Head to the GitHub Profile README Generator, fill in the form, and your polished README is one copy-paste away — free, in your browser, no signup needed.
Related Tools You Might Like:
- GitHub Badge Builder — design custom shields-style badges for your README.
- GitHub Issue Template Generator — create structured issue templates for your repositories.
- Markdown to HTML Converter — turn Markdown into clean HTML for websites and emails.
Happy building!
Frequently Asked Questions
Q: Do I need to know Markdown to use the generator? A: No. You fill in a form and the tool produces the Markdown for you, with a live preview so you can see exactly what will be rendered on GitHub.
Q: How does GitHub know to show my README on my profile? A: GitHub automatically displays the README.md of a public repository whose name exactly matches your username. Create that repository, commit the README into it, and it appears at the top of your profile page.
Q: Are the stats and streak cards based on real data? A: Yes. The cards are rendered images built from your actual public GitHub activity — public commits, pull requests, issues, and contributions. Private repository activity is not included.
Q: Can I edit the README after generating it? A: Absolutely. The output is standard Markdown, so you can edit it directly on GitHub later, tweak the text yourself, or regenerate it with the tool whenever your focus changes.