Image Upscaler: Enlarge Images 2x-4x with Lanczos3 and Sharpening
Image Upscaler enlarges images 2x-4x in your browser using Lanczos3 resampling and unsharp-mask sharpening — no upload and no AI service required.
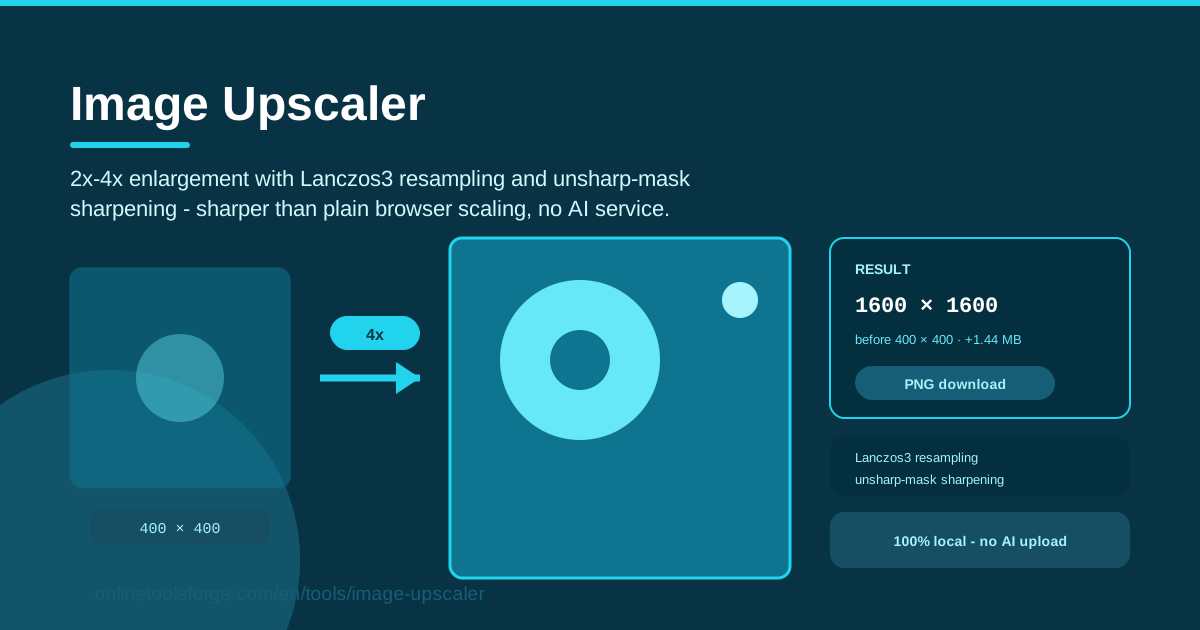
Table of Contents
Ever pulled a good image out of an old website, a legacy slide deck, or an archived chat log, only to find it is 400 pixels wide and falls apart the moment you place it anywhere larger? Image Upscaler was built for exactly that moment. It enlarges images 2x, 3x, or 4x right in your browser, using Lanczos3 resampling followed by unsharp-mask sharpening to keep the result crisp.
The gap between this and ordinary scaling is easy to see. Stretch an image in CSS or most quick editors and the browser falls back to bilinear interpolation, averaging neighboring pixels and leaving edges soft and smeared. Image Upscaler instead applies the Lanczos3 filter — a high-quality resampling algorithm long favored in professional image processing — then restores edge contrast with sharpening.
Just as important, everything runs locally. Your image is never uploaded, no AI service is involved, and there are no accounts or queues. Load a file, pick a scale, compare, and download a clean PNG in seconds.
Why Use Image Upscaler?
- No upload required. Processing happens entirely in your browser, so confidential images and client work never leave your device.
- Honest, classic algorithms. There is no AI model guessing what your image should contain. Lanczos3 is deterministic and well understood: you get a faithful enlargement, not a plausible invention.
- Sharper than default scaling. The built-in unsharp-mask pass restores edge contrast after resizing, so results hold up better than plain browser scaling at the same size.
- Transparent before-and-after info. Original and result dimensions plus a size delta are shown, so you always know exactly what you produced.
- Lossless PNG output. Results download as PNG, avoiding a second round of compression artifacts.
- Works anywhere. With no backend to depend on, the tool behaves identically on Windows, macOS, Linux, and Chromebooks.
Key Features
| Feature | What it does |
|---|---|
| 2x / 3x / 4x scaling | Choose the enlargement you need; 4x turns 500 pixels into 2,000. |
| Lanczos3 resampling | A sinc-windowed algorithm that reconstructs edges more faithfully than default bilinear. |
| Unsharp-mask sharpening | A sharpening pass after resizing brings back crispness that resampling alone softens. |
| Before/after dimensions | Shows original and result sizes side by side. |
| Size delta readout | Reports how file size changed from input to output. |
| PNG download | Saves a lossless PNG ready for docs, slides, or web. |
- Scale factors are exact multiples, so the aspect ratio is always preserved.
- Processing happens on an in-memory canvas; large images at 4x may take a moment, but nothing leaves the page.
- Because output is PNG, transparency in logos and icons survives the enlargement intact.
How to Use Image Upscaler
- Load your image. Drop the file into the tool or pick it from your device; the original dimensions appear immediately.
- Choose the scale factor. Start with 2x when quality matters most, or go 3x or 4x when you truly need the size.
- Apply the upscale. Lanczos3 resampling runs first, then unsharp-mask sharpening — that order matters for quality.
- Compare before and after. Check the enlarged result against the original and read the dimension and size-delta figures.
- Download the PNG. Save the lossless result for documentation, slides, print layouts, or a CMS.
What Lanczos3 and Unsharp Mask Actually Do
To see why this tool works better, it helps to see what goes wrong with the naive approach. A digital image is a fixed grid of pixels, and enlarging means inventing values for all the new pixels between the originals. Cheap methods invent them badly: nearest-neighbor scaling copies each source pixel into a solid block, producing chunky, stair-stepped edges, while bilinear interpolation averages the four nearest pixels — the blocks vanish, but averaging is also blurring, so every sharp transition becomes a gradual ramp and the whole image looks soft.
Lanczos3 takes a different route. It is a windowed sinc interpolation filter: rather than blending just the closest few pixels, it samples a wider 6x6 neighborhood, weighting each sample with a sinc function tapered by a Lanczos window. The filter reconstructs the underlying signal the pixels represent, including a deliberate slight overshoot near edges. That overshoot, produced by the kernel's negative lobes, is what keeps transitions crisp instead of mushy — the same family of math used in serious image-processing suites, which is why results look clean rather than smeared.
Resampling alone still loses some snap, and that is where the unsharp mask comes in. It blurs a copy of the image, subtracts that copy from the original to isolate fine detail, and adds a scaled version of the difference back on top. The net effect is boosted local contrast at edges, so the enlargement reads as sharp rather than gently hazy. Doing this after resizing is the correct order — sharpening the small source first would just amplify noise.
Set expectations honestly: Lanczos3 reconstructs, it does not invent. An AI upscaler can hallucinate new texture — skin pores, leaf veins, brick detail — that was never in the file, quietly changing the content of your image. This tool stays faithful to the source, which is what documentation, logos, and evidentiary images demand. Some inputs cannot be rescued: a 90-pixel-wide thumbnail lacks the information to become a poster, heavy JPEG artifacts get magnified along with the picture, and upscaling is not deblurring — an out-of-focus source stays out of focus, just bigger.
Practical Use Cases
Preparing Small Icons for Print
A 128-pixel app icon looks fine on screen but turns to mush the moment it lands in a brochure or printed report. A 4x enlargement brings it to 512 pixels — enough for small print placements — and PNG output keeps the edges of flat-color icons clean.
Enlarging Old Screenshots for Documentation
Support articles and internal wikis often contain screenshots captured years ago at small window sizes. Widening the browser does nothing for the underlying file. A 2x or 3x upscale makes them readable inside modern, full-width documentation pages without the blur of CSS stretching.
Fitting Low-Res Assets into Larger Layouts
Designers constantly inherit assets that fall just short of a template: a hero strip at 800 pixels for a 1,200-pixel slot, a product shot slightly too small for its card. A modest upscale closes that gap and beats letting the browser stretch the image on every page load.
Restoring Scanned Images
Flatbed scans of old photos or printed materials frequently come in at modest resolutions. Lanczos3 plus sharpening gives them more presence at larger display sizes, and the before/after view makes it easy to confirm which version looks better before you commit.
Best Practices
- Prefer 2x over 4x when quality matters. The smaller the factor, the less interpolation between real pixels — 2x is almost always cleaner than 4x.
- Sharpen after resizing. The tool already does this for you; if you edit elsewhere, keep that same order.
- Keep the original. Save the untouched source first so you can redo the enlargement at another factor anytime.
- Start from the best source available. If a higher-resolution original exists anywhere, use it — upscaling can never beat real pixels.
- Compress after upscaling. An enlarged PNG can get heavy; compress it before publishing to the web.
- Read the size delta. The before-and-after figures tell you whether the result is practical for your use case.
Ready to rescue an undersized image? Open Image Upscaler, drop in your file, and pick 2x, 3x, or 4x. You will see the enlarged, sharpened result with full before-and-after details in seconds — and the image never leaves your browser.
Related Tools You Might Like:
- Image Resizer — change image dimensions with precise control.
- Image Compressor — shrink the file size of upscaled images before publishing.
- Image Filter Effects — apply creative filters and finishing touches.
Happy enlarging!
Frequently Asked Questions
Q: Does Image Upscaler use AI to invent missing detail? A: No. It uses Lanczos3 resampling and unsharp-mask sharpening — classic, deterministic algorithms that faithfully enlarge what is already in your image. Nothing is generated or guessed, keeping the output trustworthy for professional work.
Q: Which scale factor should I choose, 2x or 4x? A: Choose 2x whenever quality is the priority, because less interpolation means cleaner edges. Use 3x or 4x when you genuinely need the larger dimensions and can accept the softer look of a bigger jump.
Q: Why is my downloaded PNG larger in file size than the original? A: A 4x enlargement holds sixteen times as many pixels, so the file naturally grows even at identical quality. The size-delta readout shows the change, and a compressor run afterward brings it back down for web use.
Q: Can upscaling fix a blurry or heavily compressed photo? A: Not really. Upscaling enlarges whatever detail exists, including flaws — blur stays blurry and JPEG blockiness becomes more visible. It works best on reasonably sharp sources like icons, screenshots, scans, and clean graphics.