Screenshot Beautifier: Frame Screenshots Into Polished Images in Seconds
Frame screenshots with gradient backgrounds, padding, rounded corners, soft shadows, and an optional watermark. Export polished PNG and JPEG images for docs, READMEs, and social posts — 100% client-side.
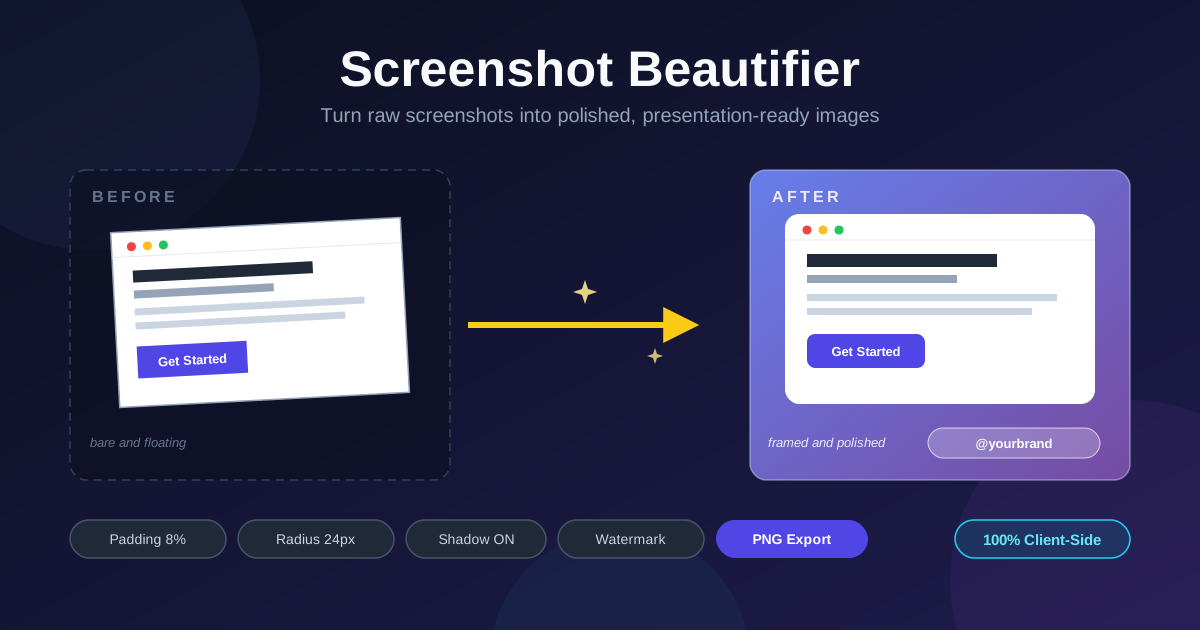
Table of Contents
Screenshot Beautifier: Frame Screenshots Into Polished Images in Seconds
A good screenshot persuades better than a paragraph of prose, yet the raw capture pasted into a README or a tweet almost always undersells itself. Hard square edges, no separation from the surrounding text, no context — on a busy page background it floats awkwardly, reading as an afterthought.
A framed screenshot fixes that, and framing takes seconds. Screenshot Beautifier wraps any capture in a padded frame with a gradient background, rounded corners, and a soft shadow, adds an optional watermark, and exports a polished PNG or JPEG for docs, READMEs, and social posts. Everything runs in your browser — no uploads, no design tools, nothing to install.
Why Use Screenshot Beautifier?
- Unframed screenshots look accidental. A hard-edged capture with no padding melts into its surroundings; a frame draws a boundary that signals care.
- First impressions sell the feature. A README's hero image is often the only screenshot people see; framing makes it look designed.
- Your images stay on brand. Eight curated gradient presets plus adjustable padding and radius match every export to your brand identity.
- Watermarks travel with the image. A short corner credit follows your screenshot wherever it is reshared.
- Nothing leaves your machine. Rendering is 100% client-side, so framing an unreleased interface is as safe as a public one.
- It is fast enough to use everywhere. Adjust, download, done — low friction makes consistent framing achievable.
Key Features
| Feature | What it does |
|---|---|
| Gradient backgrounds | Eight curated gradient presets plus a solid color mode. |
| Adjustable padding | Even breathing room around the capture, sized as a percentage of its dimensions. |
| Rounded corners | Softens the edges with a radius you control, clipped cleanly at export. |
| Soft drop shadow | Lifts the framed card off the background; blur and offset scale with padding. |
| Watermark text | Prints a short bottom-right credit with a subtle shadow for legibility. |
| PNG and JPEG export | Lossless PNG for crisp UI captures, or JPEG with a quality slider for smaller files. |
Worth calling out:
- The defaults already look good. Eight percent padding, a 24-pixel radius, and the shadow on are presentable before you touch anything.
- The preview is the export. Everything is drawn live on a canvas, so what you see is exactly what downloads.
How to Use
- Drop in your screenshot. Drag and drop or browse for the capture; it is decoded locally and nothing is uploaded.
- Pick a background. Choose a gradient preset or a solid color that contrasts with the screenshot rather than resembles it.
- Dial in the frame. Adjust padding, set the corner radius, and keep the shadow on unless the destination page is already busy.
- Add a watermark if you want one. Type a short handle or brand name and it appears in the bottom-right corner.
- Export the image. Choose PNG or JPEG, set JPEG quality if needed, and download a file ready to publish.
Framing, Shadows, and Gradients
The whole tool is built around one idea: the padded-frame aesthetic. A screenshot given even padding on all sides stops looking like a crop and starts looking like an object — a card resting on a surface. Padding is computed as a percentage of the larger screenshot dimension, so the default 8% breathes the same way on a small dialog and a full-page capture. Push it higher for hero images.
Rounded corners and the shadow do the lifting together. The radius clips the screenshot itself at export, so the rounded edge is real rather than an overlay, with corners showing the background exactly as previewed. The shadow's blur and offset scale with padding, keeping it looking like natural light rather than a dark halo.
The gradient backdrop sets the mood: darker presets like Midnight suit technical documentation and terminal captures, while warmer presets like Candy or Flame suit consumer products and social feeds. The watermark renders in the bottom-right corner with a subtle shadow for legibility — ideal for social sharing, where a short handle stays attached as the image is reshared.
Format choice is a trade-off. PNG is lossless: text edges, thin lines, and UI chrome stay razor sharp, at the cost of larger files. JPEG compresses far more and exposes a quality slider (92% by default), usually plenty for social uploads, though it can soften fine text. Since the tool always fills the frame background, JPEG's lack of transparency costs nothing — pick PNG when crispness matters, JPEG when file size does.
Under the hood it is all canvas rendering. The tool paints the background, applies the shadow, clips a rounded rectangle, draws your screenshot, composites the watermark, and hands you a PNG or JPEG blob — entirely in the browser tab. No server round trip means instant export and captures that never leave your machine.
Practical Use Cases
README and Docs Hero Images
The first image in a README sets expectations for everything below it. Frame your best capture in a brand-matched gradient, then keep padding and radius identical across every screenshot in the documentation. Consistency matters as much as any single image.
Social Media Posts
Feeds are busy backgrounds by definition, and a bare screenshot gets lost in them. A framed capture with a bold gradient separates cleanly from platform chrome, and the watermark keeps your handle attached as the image is reshared.
Changelog Announcements
Every release note is stronger with a picture of what changed. Give each new feature the same framing treatment — same preset, padding, and radius — and readers recognize your update images at a glance.
Bug-Report Context
A framed screenshot is also a communication tool. Crop to the relevant region, frame it for legibility, and watermark it with a ticket number so the image stays self-explanatory across chat, issue tracker, and meeting notes.
Best Practices
- Crop the screenshot before framing. Trim dead browser chrome first so the frame surrounds something worth framing.
- Keep watermarks subtle. A short handle in the bottom-right is a credit; a large diagonal stamp is visual pollution.
- Match the gradient to your brand. Pick one or two presets and use them everywhere; recognition compounds across a doc set.
- Keep padding and radius consistent across a series. Images that share proportions feel like a deliberate set; images that do not feel like clip art.
- Use PNG for UI, JPEG for photos. Text and interface edges need lossless rendering; photographic captures travel lighter as JPEG.
- Capture at full resolution. The frame scales with the image, so a sharp source means a crisp export.
Give Every Screenshot a Frame Worth Sharing
You already take the screenshots; spend thirty more seconds making them look like they belong in a launch post. Open Screenshot Beautifier, drop in a capture, pick a gradient, and download a framed PNG or JPEG — entirely in your browser, free, with nothing uploaded anywhere.
Related Tools You Might Like:
- Image Diff — Compare two images pixel by pixel with threshold control and heat-map modes.
- Image Grid Splitter — Slice a single image into a clean grid for carousels and profile layouts.
- Image Annotator — Add arrows, boxes, and text callouts to screenshots before you frame them.
Happy framing — may every screenshot you share look intentional!
Frequently Asked Questions
Q: Is my screenshot uploaded to a server?
A: No. The image is decoded, framed, and exported entirely in your browser with client-side canvas rendering. Nothing is transmitted anywhere, so unreleased designs and confidential captures stay safe.
Q: Which format should I export, PNG or JPEG?
A: Use PNG for screenshots full of text and UI, because it is lossless and keeps edges sharp. Use JPEG when file size matters more — 92% quality is usually indistinguishable in practice.
Q: How much padding should I use?
A: The default 8% is a reliable starting point because it scales with your screenshot's dimensions. Increase it for hero images; decrease it for dense captures where context counts.
Q: What are the export dimensions?
A: The output canvas equals your screenshot's dimensions plus padding on all four sides, at the capture's original resolution. Start from a high-resolution screenshot and the export inherits that sharpness.