How to Video Crop Any Clip in Your Browser: The Complete Video Cropper Guide
Learn how to video crop MP4 and WebM files online with Video Cropper — a private, no-upload tool that works entirely in your browser.
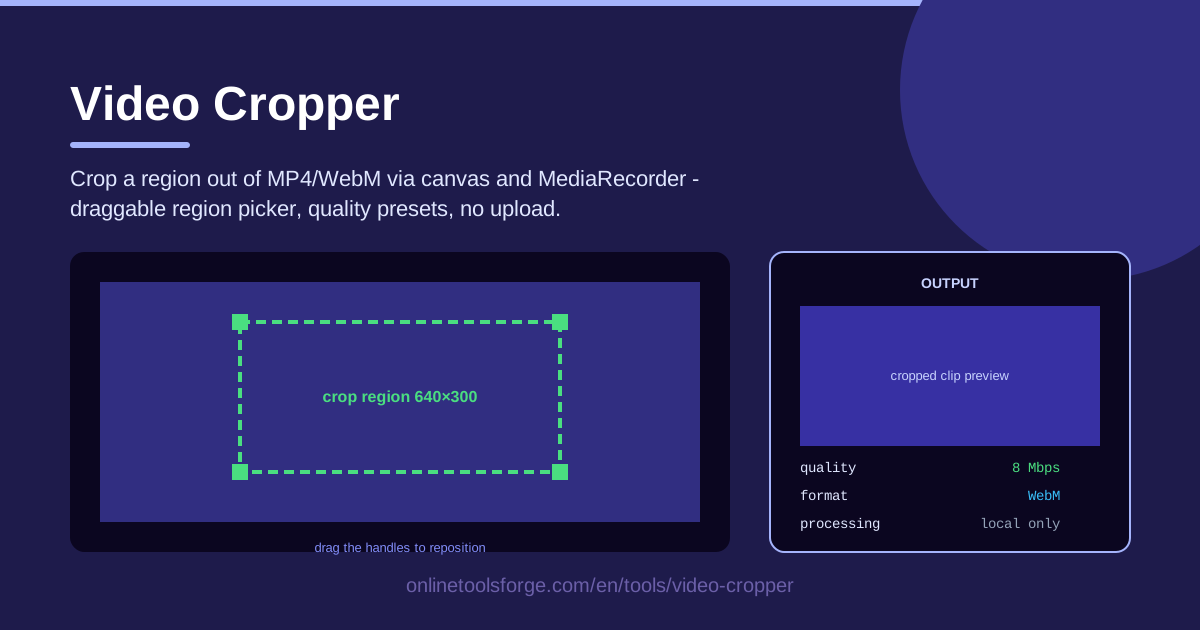
Table of Contents
Every video project eventually hits the same wall: the frame you recorded is not the frame you want to publish. A horizontal screen recording has to live on a vertical feed, a webcam bubble is bleeding into the corner of your capture, or an email address is sitting plainly visible in a demo clip. The fix in all three cases is a video crop — cutting the frame down so only what matters stays in the shot.
That is exactly what Video Cropper is built for. Open the tool, load an MP4 or WebM file straight from your computer, drag the region picker over the part of the frame you want to keep, fine-tune the handles until the preview looks right, and export. There is no upload step, no account, and no queue: the entire crop pipeline runs locally in your browser, re-rendering the selected region through canvas and encoding it with MediaRecorder.
This guide covers what cropping actually does to your footage, how the in-browser pipeline works, and the workflows people use most — from reframing 16:9 video for social to shaving sensitive edges off a recording.
Why Use Video Cropper?
- Framing that fits every platform. TikTok, Reels, and Shorts reward vertical 9:16 video, while source footage is almost always 16:9. Cropping changes the actual composition so the subject fills the new frame, instead of parking the video between black letterbox bars.
- Privacy through removal, not blurring. A blurred username can often still be guessed, and a pixelated patch just draws the eye. Cropping removes the pixels entirely — if the region is gone from the frame, there is nothing to reconstruct.
- Your video never leaves your machine. Typical online croppers upload your file to a server and hand it back, with all the confidentiality risk that implies. Here the file is read and encoded locally, so confidential footage stays confidential.
- No installs, no subscriptions. The tool runs in any modern desktop browser. There is no editor to learn and no project file to manage — the whole job is drag, preview, export.
- Visual, precise control. A draggable region picker with handles means you frame the crop by eye on the real video, then adjust each edge until it lands exactly where you want.
- Predictable output quality. Quality presets match the export to its destination, whether that is a compact file for a chat window or a high-bitrate master for further editing.
Key Features
| Feature | What it does |
|---|---|
| Local video loading | Opens MP4 and WebM files directly from your disk; nothing is transmitted anywhere. |
| Draggable region picker | Lets you draw the crop region anywhere over the preview and slide it into position by hand. |
| Adjustable handles | Fine-tune each edge of the region so the framing lands precisely on target. |
| Canvas + MediaRecorder export | Re-renders only the selected region frame by frame and re-encodes it into a new file in your browser. |
| Quality presets | One-click export profiles that balance file size against sharpness. |
| No-upload architecture | All processing happens on your device, so large or confidential clips never touch the internet. |
Three details are worth emphasizing:
- The export is a true re-render, not a mask. Everything outside your selection is discarded permanently — the output contains only the cropped frame, so it plays normally in every player.
- Formats stay familiar. You get a standard video file that uploads to YouTube, TikTok, Drive, or any editor without conversion.
- One pass, one file. Cropping and re-encoding happen in a single in-browser pass — no render queue, no watermark.
How to Use Video Cropper
- Load your video. Open the tool and select an MP4 or WebM file from your computer. The first frame appears in the preview with the region picker ready on top of it.
- Drag the region picker. Click and drag the selection box over the part of the frame you want to keep. The area outside dims instantly, so you always see exactly what will survive the crop.
- Adjust the handles. Pull the corner and edge handles to resize the region until the composition is right, then play the clip with the region visible to confirm the subject stays inside it.
- Pick a quality preset. Choose the profile that matches your destination — a higher preset for a master copy or text-heavy footage, a lighter one for social or chat.
- Export. The tool replays the video through canvas, re-drawing only the selected region, while MediaRecorder encodes the result into a new file you save to disk. The original is untouched.
Crop vs Trim vs Resize
Cropping, trimming, and resizing are constantly confused, and picking the wrong one wastes an afternoon — so it is worth being precise.
Cropping changes the framing and loses pixels. You keep a rectangular region of the frame and throw the rest away. A 1920x1080 frame cropped to a 1080x1080 square permanently discards everything outside that square. Duration, audio, and motion are untouched; the composition changes.
Trimming changes the duration. Trimming cuts time, not pixels: shave five seconds off the start and every remaining frame looks identical — there are just fewer of them. If the problem is "the clip is too long," trim. If the problem is "the frame contains the wrong things," crop.
Resizing scales everything. Resizing squeezes or stretches the whole frame into new dimensions. Force a 16:9 source into 9:16 by scaling alone and your subject becomes a sliver between black bars, or a squashed distortion. Resizing never changes what is in the frame — only how large it is.
Under the hood, Video Cropper's export is a canvas re-draw plus a MediaRecorder re-encode: each source frame is drawn onto a canvas sized to your region, and the canvas stream is encoded into a fresh file. That is why the output is a genuine, clean video rather than a masked original — and why the preset you choose matters.
When cropping for a platform, pick the ratio first and build the region around it: 9:16 for TikTok, Reels, and Shorts; 1:1 for the Instagram feed; 16:9 for YouTube and presentations; 4:5 occupies the most feed space on Facebook and Instagram and is a strong middle ground. Whatever the ratio, keep faces comfortable — headroom above the hair, the chin not glued to the bottom edge — because a face dead-center in a tight frame reads as cramped.
Practical Use Cases
Reframe 16:9 Footage into Vertical Video for Social
You recorded a 1920x1080 interview or gameplay clip and the destination is TikTok or Shorts. Crop a 9:16 region centered on the speaker or the action, export with a social preset, and the clip fills the phone screen with no letterboxing — captions and faces move with the frame exactly as previewed.
Cut the Webcam Bubble Out of a Screen Recording
Recorders that overlay a webcam bubble are great live and awkward in the edit, overlapping UI or your closing slide. Crop the region to exclude the webcam corner and the recording reads as a clean capture. The same pass removes browser toolbars, notification pop-ups, and desktop clutter along the edges.
Remove Sensitive Screen Edges Before Sharing
A product demo often exposes more than intended: a personal email in the browser corner, Slack notifications, a file path revealing your name, a tab title that says too much. Before sending the recording onward, crop past those edges. Unlike a blur, a crop leaves no evidence — the region simply no longer exists in the file.
Focus on a Whiteboard or Demo Window
In a lecture or meeting recording, the actual content — whiteboard, slide, code editor, spreadsheet — occupies a fraction of the frame while the camera wanders the room. Crop down to just the content and the recording becomes immediately legible, with every exported pixel spent on the material viewers came for.
Best Practices
- Crop before you trim. Set your framing first, then cut the duration. A crop fixed after trimming may catch the subject drifting out of the region mid-clip, forcing you to redo both steps.
- Keep a little margin. Leave breathing room around the subject rather than cropping skin-tight. It survives platform UI overlays and gives you slack if you need a slightly different ratio later.
- Prefer the 8 Mbps class preset for text. Screen recordings, code, and documents are unforgiving at low bitrates, which smear small characters. Around 8 Mbps for a 1080p region keeps text crisp; save lighter presets for talking-head footage.
- Watch for aspect distortion downstream. Cropping preserves the region's true proportions, but stretching the export into a differently shaped container distorts it. Match the output ratio to the destination instead.
- Preview in motion before exporting. Scrub through the full clip with the region visible — a crop that looks perfect on frame one can clip a moving subject halfway through.
- Keep the source file. The export discards pixels permanently. Archive the original so you can re-crop with a different region whenever requirements change.
Ready to reframe a clip? Open Video Cropper, drop in your MP4 or WebM, drag the region where you want it, and export — all in your browser, with the file never leaving your computer.
Related Tools You Might Like:
- Video Trimmer — cut clips down to the exact moments that matter, also fully in-browser.
- Aspect Ratio Cropper — frame still images to platform-ready ratios with the same precision.
- Screen Recorder — capture your screen cleanly in the first place, then crop it even cleaner.
Happy cropping!
Frequently Asked Questions
Q: Does Video Cropper upload my video to a server? A: No. The video is read locally, cropped through canvas, and re-encoded with MediaRecorder inside your browser. Your file never leaves your computer, which makes the tool safe for confidential recordings.
Q: Which video formats can I crop? A: MP4 and WebM are supported. The export is a standard video file that works on YouTube, TikTok, Instagram, and in any desktop editor without conversion.
Q: Will cropping reduce my video's quality? A: Some re-encoding is unavoidable because the output is a newly rendered file, but the quality presets let you control the trade-off. Choose a high preset for text-heavy or detailed footage and the cropped result will look effectively identical to the original region.
Q: Does cropping affect the audio? A: No — cropping changes the picture, not the timeline, so the full audio track is preserved. If you also need to shorten the audio, trim the clip with the Video Trimmer after cropping.