Microphone Tester: Check Your Mic Levels, Waveform, and Clipping in the Browser
Test any microphone with Microphone Tester, a free browser tool with a live input level meter, real-time waveform, channel check, clipping detection, and a record-and-playback round trip.
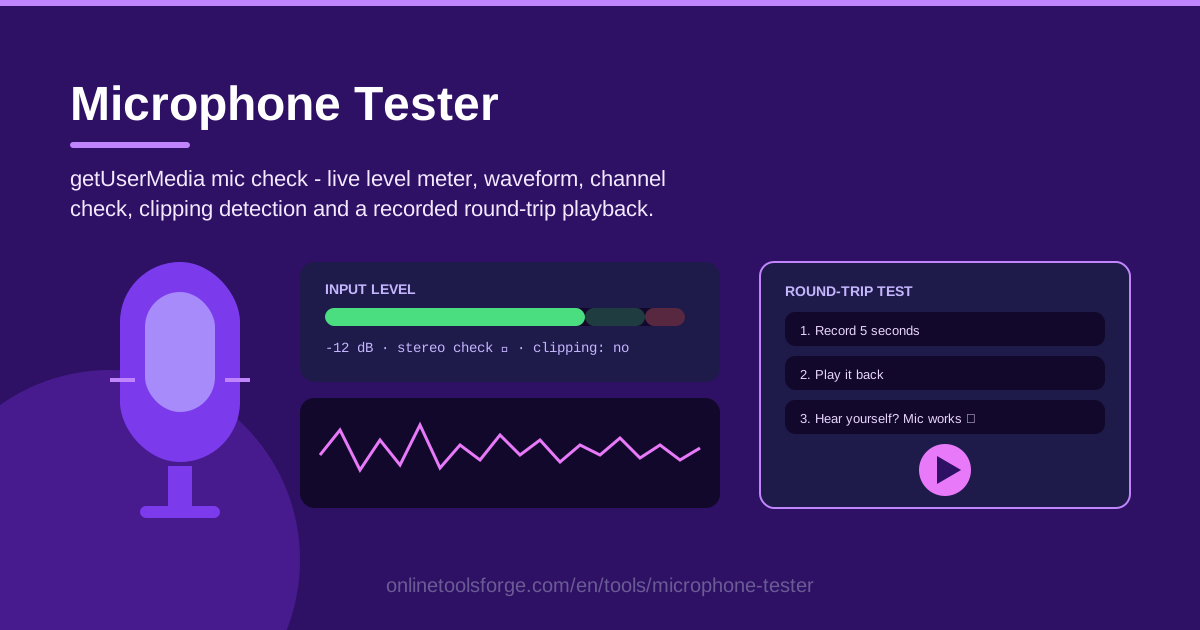
Table of Contents
There is a special kind of panic in joining an important call and realizing nobody can hear you, or finishing a recording take only to discover it was captured by the wrong device at a whisper volume. Almost all of these disasters are preventable with a quick mic check, and that is exactly what the Microphone Tester is for. Open the page, allow access, and speak — the tool shows you precisely what your microphone is picking up.
Microphone Tester runs entirely in your browser using the standard getUserMedia API. There is nothing to install, no account to create, and no audio leaves your computer. For a single permission click you get a live input level meter in dB, a real-time waveform, a stereo/mono channel check, automatic clipping detection, and a record-and-playback round trip that lets you hear your setup the way other people hear it.
Whether you are preparing for an interview, recording a podcast episode, or just unboxed a new headset, thirty seconds of testing here can save you an hour of troubleshooting later.
Why Use Microphone Tester?
- No installation, no waiting. The tester works in any modern browser on any operating system — no drivers, no downloads, no signup forms standing between you and a working mic check.
- Verify your mic before an important call. A few seconds of speaking into the level meter tells you whether meeting software will actually pick up your voice, before you are on camera with a client.
- See problems you cannot hear. A mic that sounds fine to you may be far too quiet, distorted, or capturing only one channel; the meter and waveform make those faults visible instantly.
- Catch clipping before it ruins a recording. Distorted audio cannot be repaired after the fact, and the clipping warning appears while you still have time to lower the gain.
- Test the full round trip. Recording and playing back a sample exercises the entire chain — microphone, drivers, browser, and speakers — not just the live meters.
- Private by design. Everything runs locally in your browser; your voice is never uploaded or stored on a server.
Key Features
| Feature | What it does |
|---|---|
| Mic access via getUserMedia | Opens your input device straight from the page using the browser's standard permission prompt. |
| Live input level meter (dB) | Displays incoming loudness in decibels so you can judge gain at a glance. |
| Real-time waveform | Draws the shape of the signal, making silence, spikes, and background noise obvious. |
| Stereo/mono channel check | Confirms whether both channels are live or only one side is working. |
| Clipping detection | Warns you when the input is too hot and the signal is distorting at the top of its range. |
| Record and playback round trip | Records a short sample and plays it back, so you hear your mic exactly as listeners will. |
A few of these deserve extra attention. The dB meter is your main tuning instrument, because it tells you not just that sound is arriving but how loud it is relative to the useful range. The channel check matters more than most people expect, since plenty of headsets and USB interfaces ship with one dead channel. And the playback round trip is the closest thing to hearing yourself through your audience's ears — if the sample sounds muffled or boomy on playback, that is exactly what a caller or editor would receive.
How to Use Microphone Tester
- Open the tool. Go to the Microphone Tester page in any modern browser — nothing needs to be installed first.
- Allow microphone access. When the browser asks for permission, click Allow; this is the standard getUserMedia prompt the tool needs to read your input.
- Watch the level while speaking. Talk in your normal voice and watch the dB meter rise comfortably on louder words without slamming into the top.
- Check channels and clipping. Confirm both channel indicators respond, then speak a little louder than usual and make sure no clipping warning appears.
- Record and play back. Capture a few seconds of yourself, listen critically, and confirm the round trip sounds clean end to end.
The whole sequence takes under a minute. If something looks wrong at any step, the next section explains what the readings mean and how to fix the most common causes.
What the Meter Tells You
Input level and gain staging. Digital audio has a hard ceiling: 0 dB is the absolute maximum, and anything beyond it is lost forever. Good practice is to aim for peaks roughly between -12 and -6 dB when you speak at a natural volume. That leaves headroom for laughter, emphasis, or leaning closer to the mic, and keeps you far from the ceiling where distortion begins. Peaks at -30 dB mean a quiet, noisy voice; peaks touching 0 dB mean you have no margin at all.
Why clipping destroys recordings. Clipping happens when the signal exceeds what the converter can represent and the tops of the waveform get sliced flat. The result is harsh, crackly distortion that no filter or plugin can convincingly remove, because the information is simply gone. Prevention is the only cure, which is why clipping detection matters during the test rather than after the take.
Stereo versus mono channel faults. Many microphones are genuinely mono, but headsets, USB interfaces, and adapters can carry two channels. If only the left channel moves on the meter, your recordings will play in one ear and platform processing may behave oddly. The channel check separates a true mono microphone from a broken cable, a half-seated plug, or a muted interface channel.
What the waveform shape reveals. A tiny line that barely leaves the center means the input is too quiet — raise the gain or move closer to the mic. A fat line pressed flat against the top and bottom edges means the signal is too hot and probably clipping. A constant fuzzy band while you are silent means background hiss from excessive gain or a cheap preamp.
Browser permission notes. If no input appears at all, check the padlock icon in the address bar for site permissions, confirm the operating system has not blocked microphone access for the browser entirely, and verify the correct device is set as the system's default input.
Practical Use Cases
A Pre-Meeting Check on a New Headset
You just unboxed a headset for tomorrow's client presentation. Plug it in, open the tester, allow access, and speak. The meter confirms the mic is live, the channel check shows both sides working, and a ten-second playback confirms your voice sounds clear rather than distant or boomy. Two minutes now beats surprises in the meeting.
Verifying Your External USB Mic Is Actually Selected
USB microphones are notorious for being installed but never selected, so every app silently records the built-in laptop mic instead. Run the tester and watch the level: if the waveform looks thin and roomy, set the USB mic as the default input in your OS sound settings, reload the page, and compare. The difference in level and tone is usually obvious immediately.
Diagnosing a Mono/Stereo Miswire
A colleague hears your recording through one headphone only. Run the channel check: if the right channel stays dead while the left dances, you have a damaged cable, a dirty connector, or a muted channel on the interface. Swap cables and re-test until both channels respond evenly — a vague "sounds weird" complaint becomes a specific, fixable fault.
Podcast Setup Sanity Check
Before a session, speak at your real show volume and watch the meter. Confirm peaks land in the -12 to -6 dB window, confirm no clipping warning appears during excited moments, and listen to a playback for hum, hiss, or plosives. Fixing gain staging beforehand is far cheaper than rescuing a finished episode afterward.
Best Practices
- Aim for peaks around -12 to -6 dB. Adjust input gain until your louder words land in that window with no clipping warnings.
- Test with your real speaking voice. A quiet "testing, testing" proves nothing; use the volume and tone you will actually use on calls and recordings.
- Pick the right input device in OS settings first. The browser records from the system's chosen input, so select your headset or USB mic before running the test.
- Re-test after system updates. Operating system and driver updates can reset default devices or permissions and silently switch you back to the wrong mic.
- Test from your real position. Distance from the mic changes level dramatically, so sit the way you will actually sit.
- Listen to the playback with headphones. Laptop speakers can hide hiss and distortion; headphones reveal what your listeners will actually hear.
Your microphone is the one piece of hardware every call and recording depends on, and it takes less than a minute to prove it works. Open the Microphone Tester, allow access, speak, and play back a sample — then join your next meeting with confidence.
Related Tools You Might Like:
- Camera Tester — check your webcam feed, resolution, and framing before a video call.
- Screen Recorder — capture your screen, with your tested mic, right in the browser.
- Voice Recorder — record longer voice memos locally once your mic checks out.
Happy testing!
Frequently Asked Questions
Q: Is my audio uploaded anywhere? A: No. Microphone Tester reads your microphone locally through getUserMedia; the audio never leaves your device and the test sample stays on your machine.
Q: Why does the meter show nothing when I speak? A: Check three things: that you clicked Allow on the browser permission prompt, that the correct device is set as the system input, and that the OS has not blocked microphone access for the browser entirely.
Q: The meter moves but the playback sounds bad. What now? A: Distorted playback means your input is clipping — lower the gain and re-test. Quiet, hissy playback means raise the gain and move closer to the mic. One-sided playback points to a mono/stereo fault, so use the channel check to confirm it.
Q: Does it work on phones? A: Yes, in most modern mobile browsers. Grant permission when prompted; note that some phones route the input through a different mic than you expect, so the level may look different from your desktop.